Sourdough Starter Tips and Troubleshooting
Having an issue with your sourdough starter? This simple guide addresses the most common issues that arise during the activation and maintenance of your starter! Find Activation Tips to help you stay on the right track, and a Troubleshooting section for any issues that emerge.
If you are new to sourdough baking, check out What is a Sourdough Starter? (And why you should want One!)
There is also an FAQ Page for questions about the 150-Year-Old San Francisco Sourdough Starter!

Activation Tips
Good news! Your starter is pretty chill and does not need much to be become active and thrive! Conveniently, your starter's favourite food is the carbohydrates in flour and your starter only ever needs to drink water. While some bakers add various other things to attempt to bolster their starters, the Kensington Sourdough starter has only ever been fed flour and water, and is (in our opinion) the most active starter around with this simple diet!
The most important thing to remember is that your starter is a unique living thing and every environment is different! Hence, when activating your starter you may have to adjust when feeding to ensure it is properly thick and stays healthy. Your starter is likely to behave differently from season to season, or even with different bags of the same type of flour! Keep in mind the principles below, get to know your starter, and all will be fine. Be brave and have fun!
Tip 1: Your starter wants to be warm
Between 70F-85F (21C to 29C) is the ideal temperature range for your sourdough starter to come to life. If your kitchen is colder than this or if you want to get it closer to the middle of this range, there are a few ways to get this done.
1. Oven with the light on! BE CAREFUL EVERYONE! While this is a great solution for keeping starters happy, it has also been the cause of untold carnage as spouse after spouse inadvertently pre-heats the oven and accidentally bakes the poor little starter. Another concern is that for some ovens the light is warm enough to cause the temperature to eventually reach 120F+ which could harm the starter. If you suspect your oven light is one of these overachievers, simply turn it off after 10 - 15 minutes. The oven will hold the warmth.
2. On top of the fridge. This is a good spot for a mature starter as the fridge will give off a slight amount of warmth. It can also work for activating your starter if your kitchen is not too cold and/or you don't want to use your oven.
3. Microwave with door slightly open. Your microwave light will also provide some warmth, and the bonus is nobody is likely to pre-heat a microwave!
4. A fancy bread proofing box. If you want exact control, many bakers use a proofing box like the well-reviewed Brod and Taylor one here. A proofing box is an investment for sure, but many bakers swear by them!
Tip 2: Your starter needs water
Your starter wants good, clean water! You should use lukewarm water in the feeding process. The colder your kitchen, the warmer the water you can use for best results.
Here are the key points with water:
1. Avoid chlorine. A simple web search of your location should tell you whether your tap water has chlorine or chloramine added to it. We don't want this as both can be harmful to the little lactic acid bacteria that we want to flourish!
Chlorine in a water jug will evaporate in 24 hours. Chloramine will not evaporate and will need to be filtered out. We use a Pur Water Filter to filter out chlorine, chloramine and most other contaminants -- and to just generally have better water for baking.
2. Bottled water, spring water and (maybe) well water are fine! Bottled water should be chlorine free in most parts of the world, and both spring and tap water should be great! If, however, you are having issues with your starter, try switching your water source first as there is a chance that your particular well water might have a concentration of minerals that the starter does not like.
3. Avoid excessively hard or soft water. You likely already know if either of these apply to your water source. Overly hard water can have a level of mineral ions that can mess with both the health of the starter and the results of baking. Soft water, on the other hand, lacks minerals and while, in theory, the starter should still activate fine, it may need these minerals to thrive.
If you would like to know more about water please see our much longer article What is the best water to use for my sourdough starter?
Tip 3: Your starter needs flour
We feed our starter all purpose (AP) flour. This is mainly a practical decision, as we go through a lot of flour. It also helps to stay consistent in terms of what the starter is being fed, and we know that our customers are most likely to have AP flour at home.
Here are our flour tips:
1. Use All Purpose (AP) flour until the starter is active. Your starter is used to eating the AP flour as food, and it is unfair to ask it to adapt to a new food source while also coming back to life. Note: AP flour is closest to Type 550 in Europe, 0 flour in Italy, and "Plain Flour" in the UK! Both bleached and unbleached flour will work fine.
2. Consider using a fresh bag of flour. If you are not sure how old the bag of flour is in your pantry, it's worth it to get a fresh bag of flour for activating your starter. While white flour has a long shelf life, the older the flour is, the more likely it is to have a mould spore or two kicking around.... Not what we want to introduce into our starter jar while it is still getting strong enough to defend itself from all comers!
3. Experiment with switching flours after it is active. Sourdough baking can be as simple and rustic or as complex and scientific as you like! A rye starter, for example, can be more vigorous, while a whole wheat starter may help impart more flavours to your loaves. You can either convert the starter you have just by gradually feeding it a new flour or just split off some of your existing starter into a new jar to experiment.
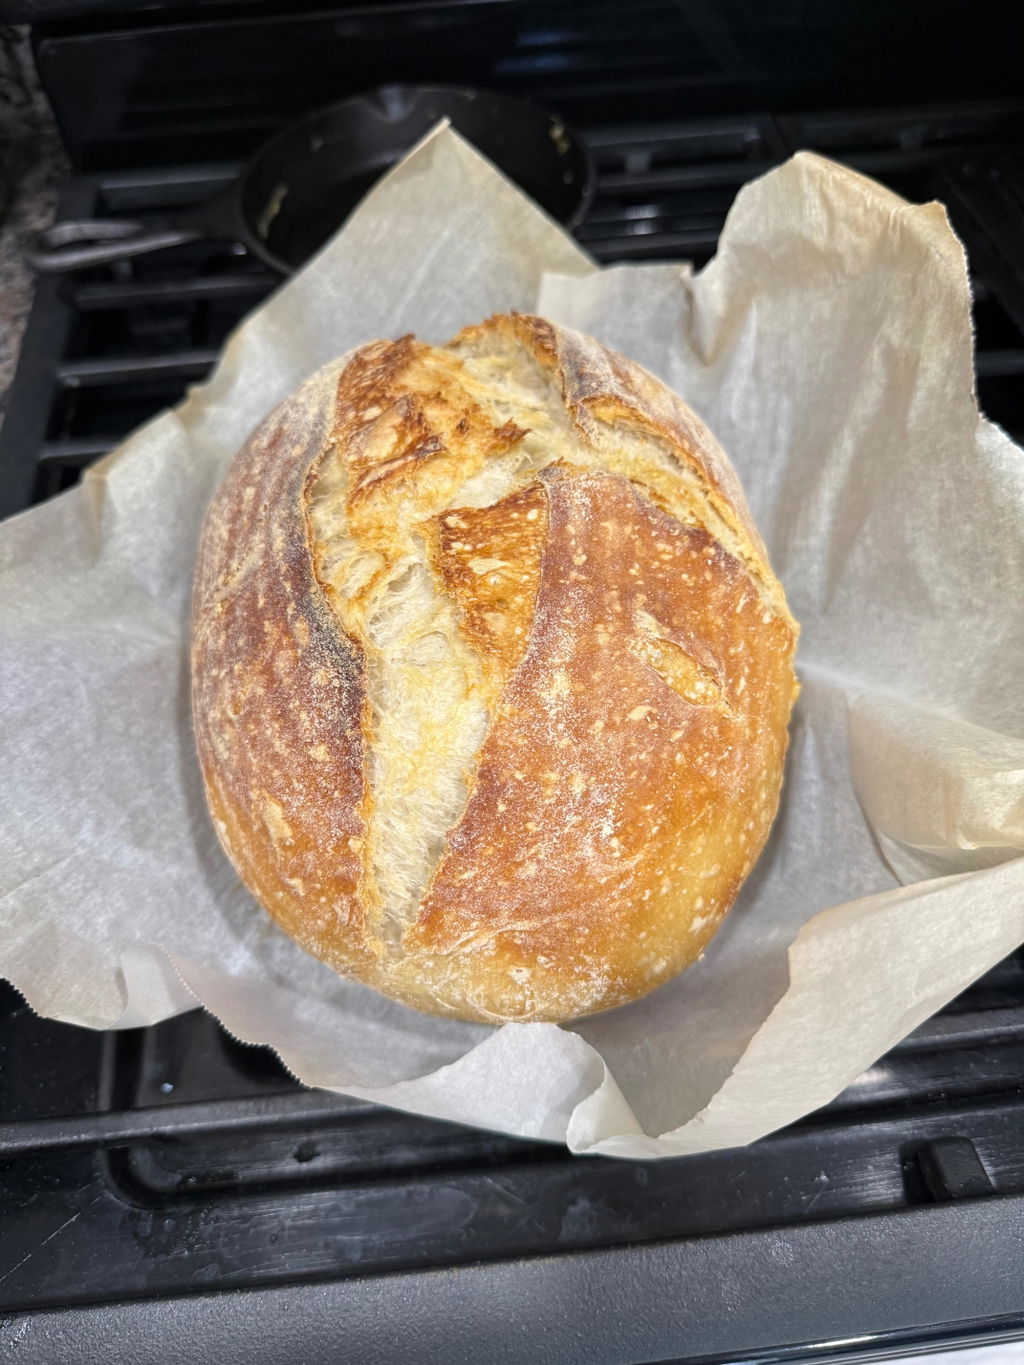
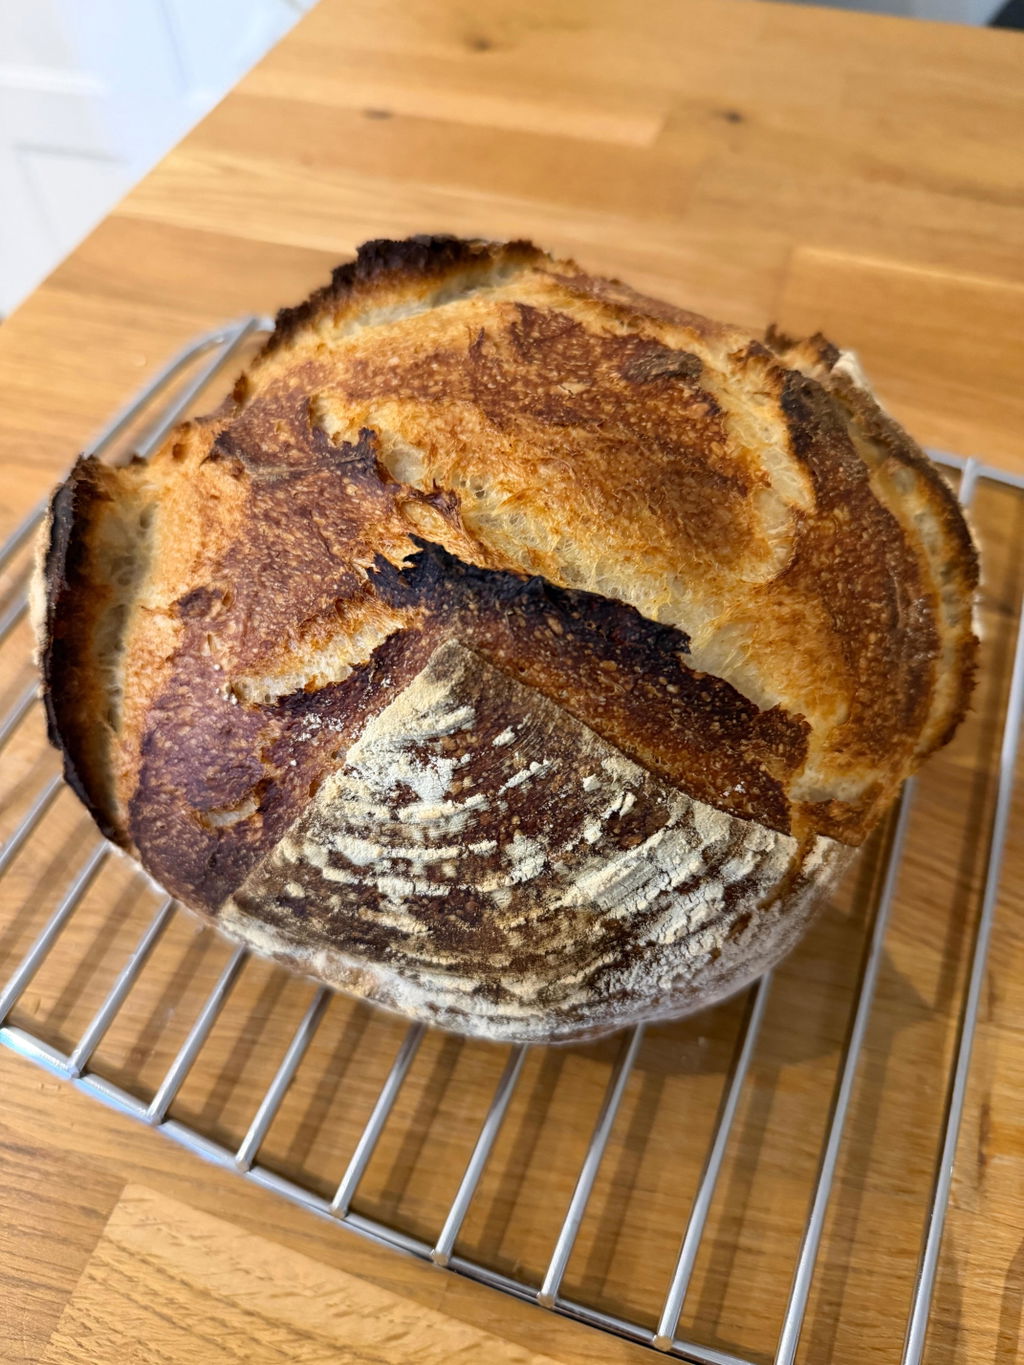
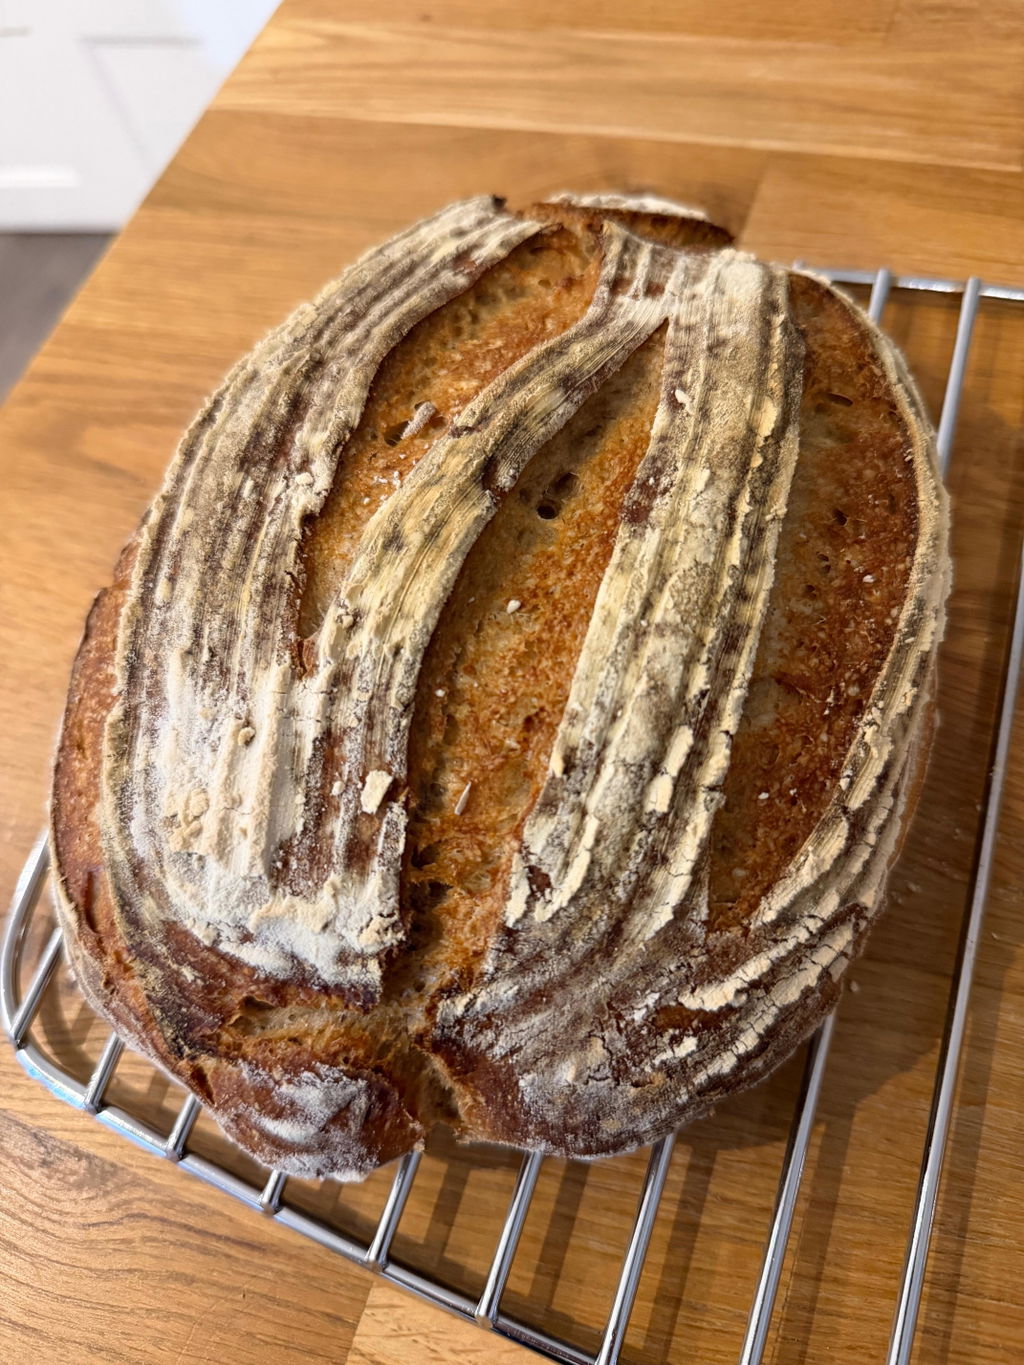
Tip 4: Your starter wants to be thick!
This is veering into personal advice, as in theory the wild yeasts and lactic acid bacteria are perfectly happy in a starter with any hydration level. We believe that a thin and watery starter is undesirable during activation stages as the starter will be less able to fend off outside invaders. For a mature starter, a thin starter will likely produce less sour flavours. For anyone attempting to convert to a gluten free starter, a very thick starter is a must!
Our advice is to always adjust while feeding so that your starter is like a thick paste. Much thicker than pancake batter -- closer to warm peanut butter and hard to stir. You can adjust consistency by stirring in more flour or less water or both.
After feeding, your starter will gradually thin out over the next 24 hours as the starter feasts on the flour and water. This is normal! If it ends up soupy by the time you feed again, feed it even thicker until it behaves!
Tip 5: Your starter needs a home
The instructions that come with your starter call for starting the culture in a bowl, as everyone has one and it is easy to mix and stir. At some point, however, you will likely move your starter to a jar. Some storage tips:
1. These Weck Jars are our favourite jars by far for a sourdough starter. Both the Weck 745 Tulip Jar and the Weck 743 Mold Jar are amazing, tough, and make it easy to use, feed, and stir your starter. For more on this please see my article What is the best jar for a Sourdough Starter? All about the Weck 743 and 745.

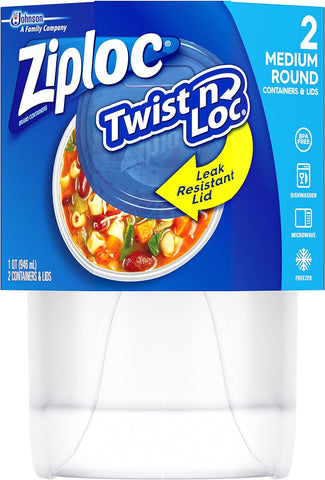
2. This Ziplock container works great! If you don't mind plastic, this is a really great starter container. The flat sides and wide mouth make it easy to feed and stir, and the slight lip at the top mean you can securely fasten your parchment paper with a rubber band. The plastic is tough and durable. The one you want is the Medium Round Ziploc Twist 'n Loc
3. Avoid narrow mouth mason jars. If you keep your starter thick, stirring is a bit of a workout! The common quart size mason jar everyone has with the 2.5 inch mouth is just not wide enough to get your hands in and stir.
4. Avoid metal containers. In decades past, there were a lot of aluminum or tin lines baking vessels and these materials would react poorly with the acidic elements of a starter, to the potential detriment of both the metal item and the starter! Chances are you were not planning on keeping your starter in a vintage aluminum jug but many of our customers are a good type of weird -- so we would not be surprised if at least a few of you were planning to do exactly that!
5. Don't seal the jar! Cover it with parchment paper and a rubber band instead. Your starter will produce gasses as a result of the feeding and fermentation process. The Weck jars are unlikely to explode even with the airtight lid clipped on but a sealed mason jar or similar will absolutely kaboom itself. Instead, use a large square of parchment paper and a rubber band for a lid. Even when the starter rises more than expected, the parchment will balloon up and "catch" the excess.
Parchment paper also allows the starter to breath slightly, unlike plastic wrap which can throw off the moisture levels in the jar. The starter won't stick to the parchment paper which is ideal!
6. Keep in on the counter if you bake a lot! Keep it in the fridge if you only bake once a week or less.
If you keep in on the counter: Discard and feed every day. Remove all but half a cup of your starter. Feed it with a 1:1:1 ratio of starter to flour to water. Once it mature and active a 1:2:2 ration will also work!
If you keep it in the fridge: Use the "No Feed" method to save time and flour! See this article for how to use the "No Feed" method while keeping your starter in the fridge.
Troubleshooting
The below are the most common questions or issues that customers have reported to me. Remember that if something goes wrong during activation, we will happily send another one your way.
Starter not activating or rising
There are a few common reasons that a starter is not rising. Please note that unless you baked it or it got a big dose of chlorine or cleaning residue, it is unlikely to be dead! However, we want it to double or triple in size after feeding -- if it is not doing that by day 7, here are some potential issues and solutions:
1. Is it too warm or cold? If your environment is around 70 degrees or cooler, it won't harm your starter but it will slow the activation process down. If the starter has been activating in a cold place, it might take a few extra days of discarding/feeding to get it going.
If your environment is above 85F, then it may be too warm. In this case, follow the directions under "Starter is thinning out between feedings" below.
2. Did you discard down to half a cup before feeding on Day 7? And each day after that? Ok, this is a bit our fault as the written instructions can be confusing in places. We tried our best to be clear but don't feel bad if you didn't realize that you had to discard after the big dump on Day 5! As of Day 7, you will always discard before every feeding.
Another common mistake is discarding half of your cup instead of keeping a 1/2 cup of starter! A starter needs a good ratio of fresh flour to existing starter when being fed, and just chucking half of what you've got won't do. A 1/2 cup of starter is not much! It's only about 100 grams. Some day, we will create some video instructions that will hopefully be really helpful!
3. Could there be an issue with the water? See the "Tips Section" above for the common water issues that can absolutely slow down your starter! Chlorine, chloramine or overly hard/soft water can reduce activity or delay the activation timetable significantly. If you suspect that your water might be causing the issue, switch to a different water source for a few discards and feeds.
4. Are you using all purpose (AP) flour? In many instances when customers are having issues with their starter not becoming active in 7 days, they are using a flour other than All Purpose. Your starter is used to All Purpose and will be happier if you stick to AP during activation. Once it's going strong, you can safely start experimenting with different flours!
5. Did it secretly get baked in the oven? It's not unheard of for someone to send in a photo of a clearly scorched starter asking what the issue might be, and we get to imagine a David Sedaris style family mystery as to who pre-heated the oven and attempted a cover up! In any event, an orange and dried out starter has likely seen some significant heat and is likely toast. We have a special discount code for burnt starter replacement!! Just email to ask at info@kensingtonsourdough.ca!
Starter is thinning out between feedings
On occasion, you will go to feed your starter and it will be a complete soup -- not at all how you left it when you fed it nice and thick the day before! This means the starter is moving too fast and it is being a bad pet! A warmer kitchen can be the culprit here, but sometimes it just seems like the starter will do this for no particular reason! To stabilize it, feed it even thicker... hydrated, but close to a dough. Repeat feeding it thicker and thicker until it behaves again.
Starter has a clear or black liquid on top
This is called the "hooch" and is normal! Hooch can also appear at the bottom or in the middle of your jar. It is a sign that your starter is moving quickly through its cycle and is hungry. When this liquid is present, your starter will smell a bit like acetone, which is also normal and nothing to worry about! You can stir it in before discarding and feeding, although if it is older (i.e. the hooch formed after the starter was left alone for a few days on the counter or for a few weeks in the fridge) then dump it off before feeding. The term "hooch" stems from the fact that it is an alcohol byproduct of the fermentation process!
Starter has a crust on top
Good! This is just dried starter that formed when your starter rose quickly and then subsided slightly, allowing enough air to dry out the top layer. We use parchment as a lid and always have a crust. Feel free to stir the crust in when feeding. Our pet theory is that crust is frozen in time from the exact moment the starter was at its peak! So nothing to be concerned about... perhaps quite the opposite!
Starter smells weird
We love it when starter has a strong acetone or nail polish remover smell, but this can be unnerving to first time starter owners! A starter can also smell slightly like bread -- it all depends on the yeast bacteria balance that day and where the starter is in its fermentation process.
A normal starter may also smell a bit musty, like yoghurt, ripe cheese, or even sulphur! If your starter smells overwhelmingly bad, however, like rotting food or garbage, then its time to check for mould.
Starter doesn't pass the float test
We don't use the float test! The "float test" is meant to determine the activity level of a starter by seeing if enough gas has been produced to allow a chunk of starter to float. Based on our experience and many emails with customers, we have not found this to be reliable. A starter can be perfectly healthy and not "pass" the float test.
A typical email inquiry is something like "Hi, my starter is doubling in size vigorously after feeding, is full of bubbles, smells amazing, and is making the best bread I have ever had! But it doesn't pass the float test... is something wrong?" Our response to this is that it doesn't seem like anything is wrong, and note that we don't use the float test! Instead, we encourage you to make sure the starter looks and smells healthy, has bubbles, and is doubling in size after feeding.
I forgot to feed my sourdough starter
The starter will be fine if you miss a few feedings on the counter. In the fridge, a neglected starter will usually be fine for months! Your starter is resilient - except in the most dire of circumstances, it should come right back to normal once you start feed/discarding again. If your starter is sluggish after some time off, you can kick-start it by feeding it twice a day! Please see my article here on Reviving a "Dead" Sourdough Starter.
If you are worried your starter has been neglected for too long, it would be smart to give it a visual check for mould and make sure it smells normal (it will likely smell quite sour after a long period without feeding but that is not cause for alarm). If you see mould or it smells a LOT like a dumpster, then it's best to start again.
Mold in the Starter
Mold is rare but can happen. Usually the culprit is either an external source, such as from nearby food items or spores in the flour used to feed your starter. Another way mould can form is if chlorine or cleaning residue (such as from a dishwasher) in the starter jar has weakened the culture to the point where mould take hold. A neglected starter in the fridge will eventually be vulnerable to mold, although our customers have reported letting their starters sit for 3-4 months and be perfectly fine.
Mold is very rare for a healthy and active starter being fed regularly, as your starter will be the toughest micro-culture on the block and a stray mold spore has zero chance of getting a foothold.
If there is visible mold on your starter and in the jar, then it is most prudent to chuck it. In the past, many people would scrape away surface mold, transfer to a new jar, and carry on.... but the question, of course, is how they can judge that the mold is indeed surface only. Please just email us... if there is mold present during activation, we will happily send you a new one!
I have activated my sourdough starter and I am not sure what to do next!
Ah, we have an article just for you! Please take a look at What to do after I have activated my sourdough starter!
GREAT! Now how do I bake the bread?!
At Kensington Sourdough we will help with baking tips where we can, but the focus of our business is 100% on our responsibilities as the "keepers of the starter". We get asked a lot if we offer courses or online baking help and we do not!
If you are looking for a GREAT baking course, we recommend our friends at Simpel Surdej. They run an award winning bakery in the historic town of Viborg Denmark. You can check out the course here!

Peter and Anne Sophie at their bakery! You can read more about them here! (hit translate in your browser if you don't happen to speak Danish!)
Thanks for reading this guide! If you have any questions that aren't addressed above, please email info@kensingtonsourdough.ca!
We also have a product recommendation page here: Sourdough Tools and Gifts to (Maybe) Buy. We would like to disclose that many of our recommendations above and throughout our website use affiliate links, which means that we receive a small profit on purchases made through these links. That being said, we only recommend products we truly believe will make the sourdough experience easier, better and all around more fun!